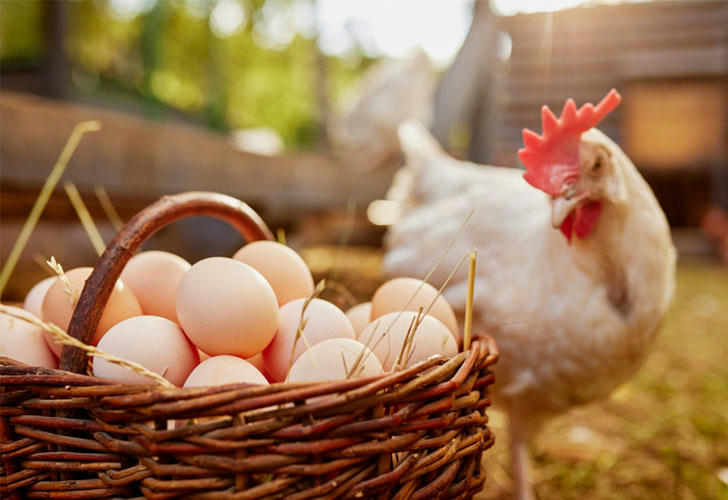
The Complete Backyard Chicken Guide: From Egg to Hen to More Eggs!
Let’s be real — eggs are ridiculously expensive right now. Every time I walk past the dairy aisle, I say a little prayer before I look at the price tag. So instead of forking over $8 for a dozen, I did something totally offbeat: I decided to hatch my own chickens. From scratch. Literally.
This is the story of how I went from holding a warm egg in my hand to hearing the first cluck in my backyard… and eventually collecting eggs of my own. If you're curious, slightly crazy (in a good way), and ready for an egg adventure, this guide’s for you.

Why Raise Chickens in 2025?
We’ve seen it in the headlines — egg shortages, avian flu, and prices that just keep rising. It’s no wonder more people are turning to backyard chickens for reliable food and a bit of rural charm in the suburbs. But what they don’t always tell you is that you can start with nothing more than a fertilized egg, a bit of gear, and some patience.
It’s like a science project meets breakfast buffet.
Phase 1: Hatching Your Own Chicks from Eggs
Step 1: Get Fertilized Eggs
Nope, not from the grocery store. You’ll need fertilized hatching eggs — try a local farm, hatchery, or even eBay. Prices vary, but expect around $2–$4 per egg depending on breed.
👉 Pro tip: Go with hardy beginner breeds like Buff Orpington, Rhode Island Red, or Barred Rock.
Step 2: Incubator Time
You’ll need an egg incubator that maintains the perfect humidity and temperature (99.5°F). Here's what worked for me:
🥚 Recommended Product:
Manna Pro Harris Farms Nurture Right 360 Incubator
- Auto-turns eggs, digital readout, perfect for first-timers
- Price: ~$150
- Rating: ⭐ 4.6/5 (4,200+ reviews)
I popped in six eggs and stared at them like a Netflix show for three weeks straight.
Step 3: The Waiting Game (21 Days)
Over the next three weeks, you’ll:
- Candle the eggs (shine a light to see development)
- Adjust humidity levels (~50% early on, 65-70% last days)
- Hold your breath on day 21 as tiny beaks peck through the shells
When you hear the first chirp, it’s pure magic. Your chicks are alive!
Phase 2: Raising Chicks Like a Pro
Set Up Your Brooder
Your tiny fluff balls need warmth, clean bedding, water, and feed. Think of it as a cozy baby nursery — for birds.
🐣 Must-Haves:
- Heat lamp or brooder plate (95°F to start, reduce weekly)
- Pine shavings (never cedar — toxic!)
- Chick feeder and waterer
- Starter feed with 20–24% protein
🔧 Product Tip:
RentACoop Chick Brooder Kit
- Comes with adjustable brooder plate and shallow water dish
- Price: ~$59
- Rating: ⭐ 4.7/5
Daily Chick Care
- Refill water/feed
- Clean the brooder every 2–3 days
- Handle them gently so they grow used to humans (yes, they’ll love you)
In about 6 weeks, your peeping chicks start to look like miniature chickens. It’s like fast-forwarding evolution.
Phase 3: The Coop Life
Once they’re feathered out (6–8 weeks), it’s time to introduce them to the outdoors.
Building or Buying a Coop
You’ll need:
Space (4 square feet per chicken inside; 10+ outside)
Nesting boxes (one for every 3–4 hens)
Ventilation (chickens are sensitive to ammonia buildup)
Security (raccoons = chicken nightmares)
🏠 Product Pick:
Omlet Eglu Cube Chicken Coop
- Predator-proof, easy to clean, stylish for suburbia
- Price: ~$750
- Rating: ⭐ 4.8/5
If you're on a tighter budget, you can DIY one from a shed or repurpose a large dog house. Add a run with chicken wire, and you're golden.
Phase 4: Egg-citement — When Chickens Start Laying
By month 5 or 6, you’ll walk outside one morning and find it: a tiny, warm egg nestled in straw. You’ll cry. (Okay, I cried. No shame.)
Expect:
- 1 egg per hen per day in peak season
- Slight slowdowns in winter (add a coop-safe light if needed)
- Colorful eggs based on breed — brown, blue, even green!
At this point, you’ve officially completed the chicken life cycle — from egg, to chicken, to more eggs.
Bonus: What About Roosters?
If you only want eggs, you don’t need a rooster. In fact, most city ordinances ban them because of the noise.
But if you want to continue hatching your own chicks, you’ll need one gallant gentleman in your flock. Fair warning: roosters are early risers and not exactly polite.
Final Thoughts: Was It Worth It?
Let’s see…
| Item | Cost |
|---|---|
| Incubator | $150 |
| Chicks & Supplies | $100 |
| Coop Setup | $200–$800 |
| Feed (yearly) | ~$100 |
| Fresh eggs every day | Priceless |
All in all, I spent around $500 — less than one year of organic eggs at today’s prices. And the best part? My kids learned responsibility, I reconnected with nature, and my mornings now start with a happy “bawk” instead of a beep.
So yes — you can go from buying overpriced eggs to collecting your own fresh breakfast, all while having a feathery adventure along the way.
Just don’t forget to name your chickens. Mine? Waffle, Omelet, and Pancake. 🐔🍳
